DIY Off-Grid Rainwater Collection Systems: A Comprehensive Guide
As the world grapples with water scarcity, off-grid living has become a viable solution for those seeking a more sustainable lifestyle. One essential aspect of off-grid living is rainwater collection, which can provide a reliable source of clean water for drinking, cooking, and other household needs. In this article, we will explore the basics of DIY off-grid rainwater collection systems, including the tools, materials, and techniques required to build a functional system.
Why Collect Rainwater?
Rainwater collection is a simple and effective way to reduce your water bills, conserve energy, and mitigate the impact of droughts. By collecting and storing rainwater, you can rely less on municipal water supplies, which can be costly and unsustainable in the long run. Additionally, rainwater is free from chlorine, fluoride, and other chemicals commonly found in tap water, making it a healthier choice for drinking and cooking.
Designing Your DIY Off-Grid Rainwater Collection System
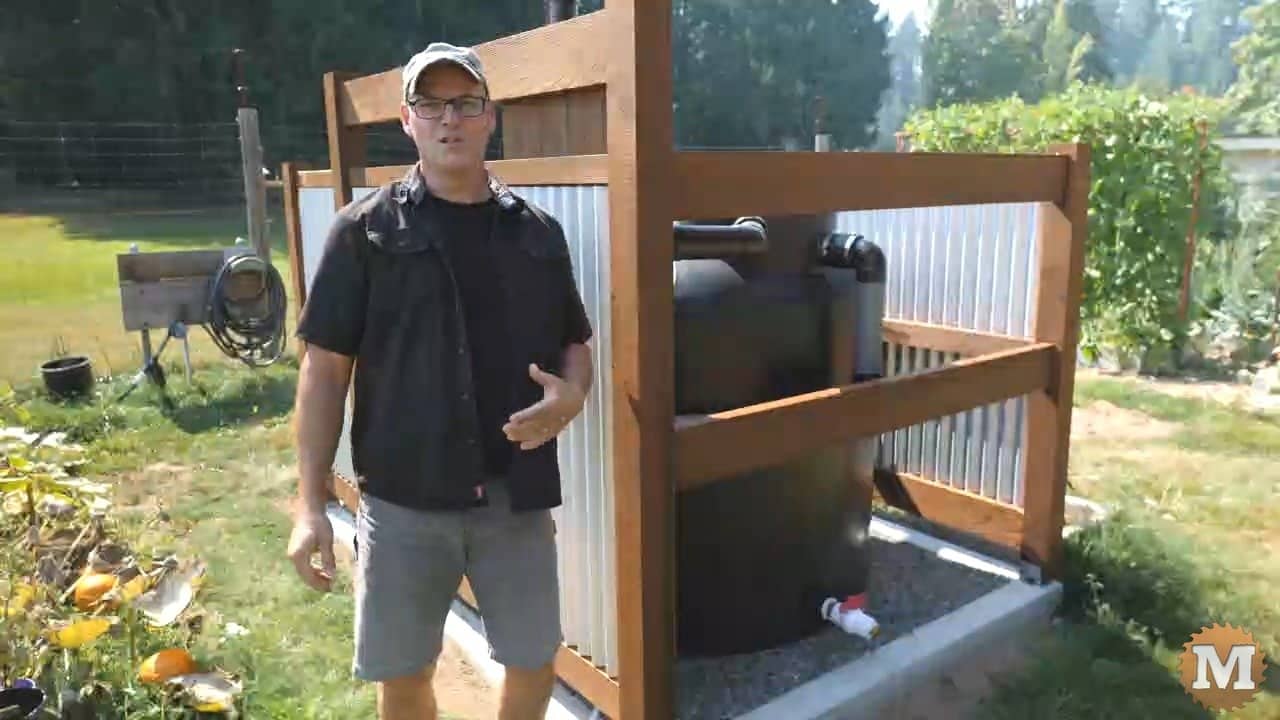
This particular example perfectly highlights why Diy Off-Grid Rainwater Collection Systems is so captivating.
To design an effective DIY off-grid rainwater collection system, you'll need to consider the following factors:
- Collection Area:** Calculate the square footage of your roof or collection area to determine the number of gutters and downspouts needed.
- Storage Tank:** Choose a suitable storage tank size based on your water needs and the volume of rainfall in your area.
- Filtration and Treatment:** Consider adding a filtration system to remove debris, sediment, and contaminants from the collected rainwater.
- Pumping and Distribution:** Plan for a pumping system to move the collected water from the storage tank to your home or other desired locations.
Materials and Tools Required
To build a DIY off-grid rainwater collection system, you'll need the following materials and tools:

- Gutters and Downspouts:** Choose durable, corrosion-resistant materials for your gutters and downspouts.
- Storage Tank:** Select a suitable storage tank material, such as plastic, metal, or concrete, based on your needs and budget.
- Filtration System:** Design or purchase a filtration system to remove debris and contaminants from the collected rainwater.
- Pumping System:** Choose a suitable pumping system, such as a submersible pump or a solar-powered pump, to move the collected water.
- Piping and Fittings:** Select durable, leak-resistant piping and fittings for your system.
Step-by-Step Installation Guide
Installing a DIY off-grid rainwater collection system requires careful planning and execution. Follow these steps to ensure a successful installation:
- Prepare the Collection Area:** Clean and prepare the roof or collection area to ensure maximum water collection.
- Install Gutters and Downspouts:** Install the gutters and downspouts, ensuring proper slope and connection to the storage tank.
- Install the Storage Tank:** Place the storage tank in a secure location, ensuring easy access for maintenance and monitoring.
- Install the Filtration System:** Install the filtration system, following the manufacturer's instructions for optimal performance.
- Install the Pumping System:** Install the pumping system, connecting it to the storage tank and desired distribution points.
- Test and Monitor:** Test the system to ensure proper function and monitor the water quality regularly.


