DIY Waterproofing a Minimalist Living Room with Sealants: A Step-by-Step Guide
The Importance of Waterproofing a Minimalist Living Room
Ever tried to keep water out and ended up with a mini swimming pool in your living room? Yeah, we've all been there. Making your own waterproof sealant can save you from those soggy disasters and give you the satisfaction of DIY success. Plus, it's way more fun than binge-watching yet another reality show!Preparation is Key
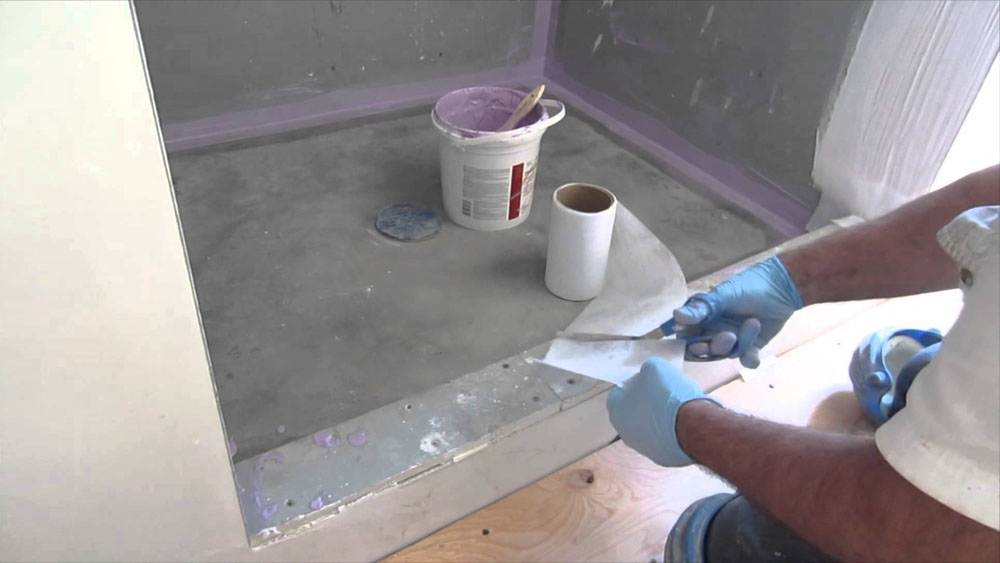
Before you start applying any sealant, make sure you prepare the area properly. Here are a few essential steps to follow:- Protect your floor from drips and spills by putting down old sheets of cardboard around the room.
- Put on safety gloves, eye protection, and a dust mask before filling the syringe or brush with a waterproofing solution.
- Select the suitable waterproof sealant and mix it using a drill and paddle mixer attachment.
Choosing the Right Sealant
There are various types of waterproof sealants available in the market, each with its own set of features and benefits. When choosing the right sealant for your minimalist living room, consider the following factors:- Adhesion: Look for a sealant that forms a strong bond with the surface it's applied to.
- Grip: Choose a sealant that has good grip on the surface to prevent slipping and falling.
- Durability: Opt for a sealant that can withstand the wear and tear of heavy foot traffic and spills.
- Ease of application: Select a sealant that's easy to apply and dries quickly.
Applying the Sealant
Once you've selected the right sealant, it's time to apply it. Here's a step-by-step guide:- Apply the sealant to the desired surface using a roller or brush.
- Merge the layers of sealant using a notched trowel.
- Allow the sealant to dry completely before applying additional coats.
DIY Tips and Tricks
Here are some additional tips and tricks to keep in mind when DIY waterproofing a minimalist living room with sealants:- Always read the instructions carefully before applying the sealant.
- Make sure the surface is clean and dry before applying the sealant.
- Test a small area first to ensure the sealant doesn't cause any discoloration or damage.
- Apply multiple thin coats of sealant for better results.
Conclusion
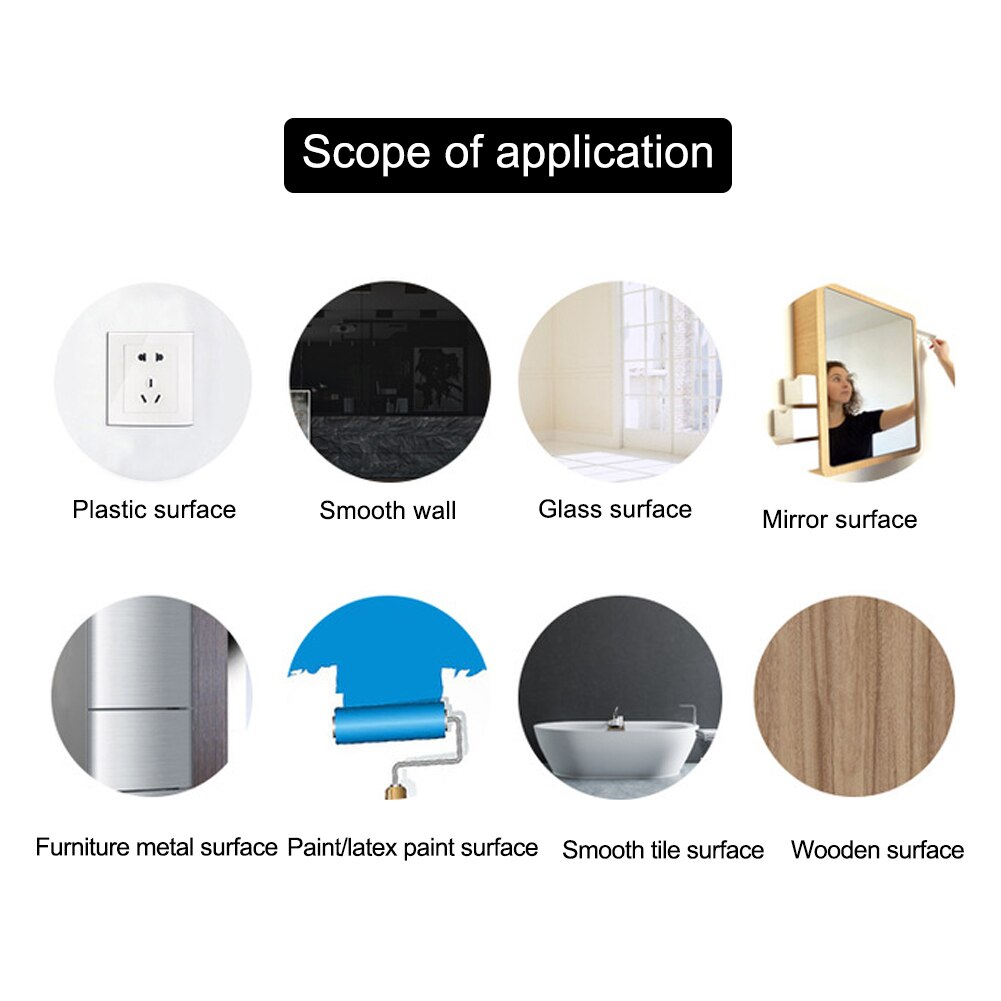
DIY Waterproofing Products
Here are some popular DIY waterproofing products that you can use:DIY Waterproofing Benefits
DIY waterproofing a minimalist living room with sealants has many benefits, including:- Saves time and money
- Provides a sense of accomplishment
- Protects your home from water damage
- Easy to do
Final Tips
To keep your minimalist living room waterproofed and protected, make sure to:- Regularly inspect the sealant for any damage or wear and tear.
- Reapply the sealant as needed.
- Keep the area around the sealant free from debris and clutter.


")


